



Festival and Tasting Footage: Convert Phone Video to HD for Reviews and Recaps
 Story by:
Guest Contributors
Festival and Tasting Footage
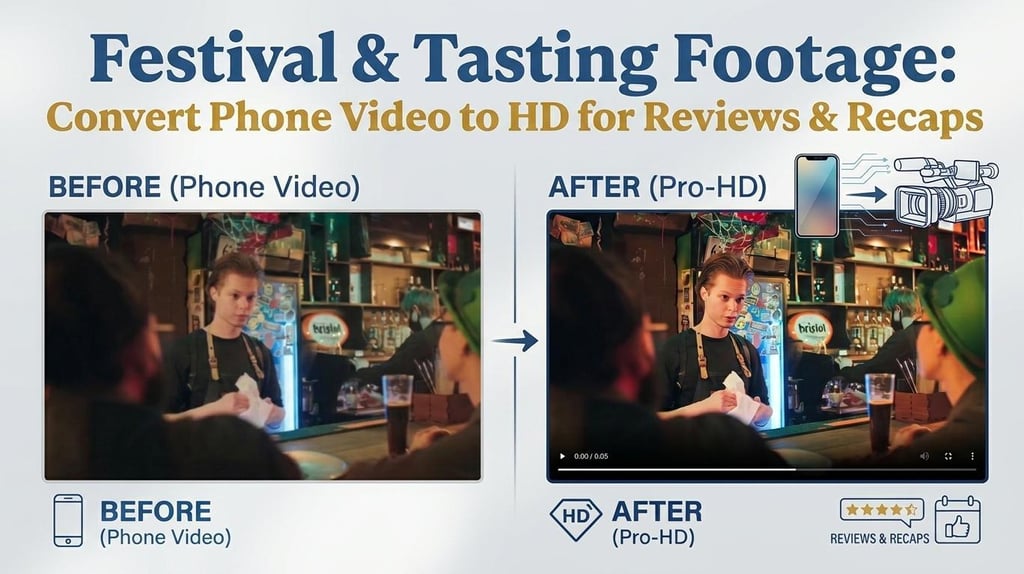
Shoots a beer festival, and then looks at the video and realizes that it’s not the real thing? There was a lot of energy and excitement, and for the first time, a seasonal beer was highlighted through the pours. Photographs highlight the celebration and its feel and can be used to help spread the word about the character of their latest creations. Then you pick up your cell phone. Why is it that the videos of pouring beer are so dull? The pictures inside the house are smears, and when you post them on social media, it doesn’t look good at all.
This isn’t fun while you’re in the middle of a festival review, tasting the food and putting it into words. Fortunately, you don’t need to re-shoot all the elements. So, here are the tips to get festival footage that looks good and convert videos from phone to HD.
Four Shots Every Beer Festival Recap Needs: and What Can Go Wrong
A good beer festival recap is more than just a few different beers. It’s about the small things that made the day much better.
But what if your phone doesn’t quite catch it?
1. The pour
Don’t we all love to see beer go into a glass? From the moment the beer hits the glass to the head that forms on top, it’s an event that beer fans won’t want to miss.
Nevertheless, a blurry video can hide those super-small bubbles, the texture of the foam, and subtle color changes.
B. The tasting-room atmosphere
Have you ever attempted to film that lively taproom or packed festival hall and felt frustrated because the lighting wasn’t quite up to mark?
With blurry, low-light footage, it’s a problem – faces get blurry, background details get washed out, and the atmosphere of the event dims away.
C. The brewer interview
Fancy adding a quick conversation with the brewer to your beer review? Gain insights into upcoming recipes or hear about the scoop behind a seasonal.
Here’s the thing-what about the quality of your video? Hard to see facial expressions in fuzzy footage, or determine what’s on a bottle label? Terrible lighting can turn a great interview into a flop.
D. The event-wide recap
A festival recap rounds it all up for you – people footage, brewery booths, tasting tables, and those quick clips you grabbed in between tastes.
Here’s the challenge. Maybe you shot some of the clips on your phone, and some of your friends sent you other footage. Each camera, and each time of day, will give you a mix of clear and blurry, bright and dark shots.
The Quick Upgrade: Prepare Your Footage with Vmake Labs
Ever snapped an epic shot of a hazy IPA and then your video turns out extra hazy? Don’t delete that video just yet! Vmake Labs HD Video Converter is here to save those obscure music festival videos, and the best part is, no editing skills are required.
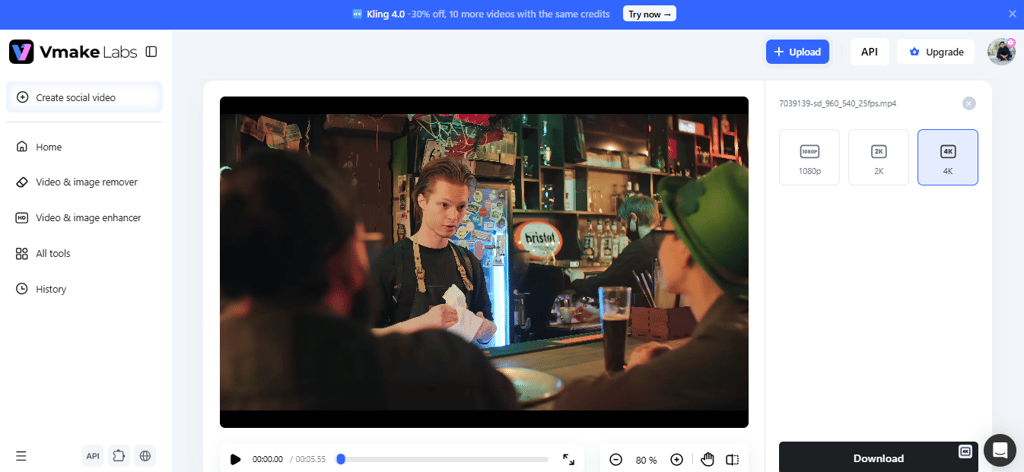
Do you ever wish you could make your video come alive with crisper details and more vibrant colors? Vmake Labs can do that! Many software converters only increase resolution and make it blurry. Vmake Labs uses AI to sharpen and add richer color detail. Clearer foam in your pour and richer color in your brewer interviews. Which do you prefer? 1080P, 2K, or 4K? Vmake also supports batch conversion, making it easier to prepare multiple videos. Just upload your footage, choose a resolution, preview the results, and download.
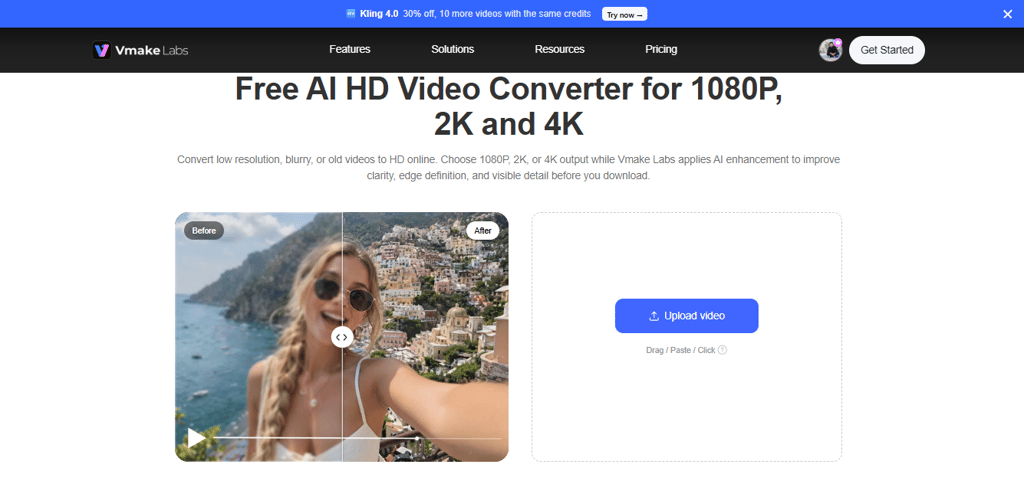
Want to auto-tune your videos? Vmake Labs offers CLI/API access! Simply hook it to ChatGPT, Claude Code, or another AI to enhance your videos with a command.
A Mini Editing Test: Three Clips from the Same Festival
Hopping up your festival footage with HD conversion, does it really give it that extra boost? Let’s try it on some typical beer festival clips and see. Want to know what you should be looking for?
First, upload your clip, select your resolution of choice, and preview the boosted clip. Second, review it side-by-side with the original footage.
Test A: The fresh pour
Before: The golden beer in the glass looks gorgeous from where you’re standing. The foam’s texture seems very thin, and the beer’s hue is a little too pale.
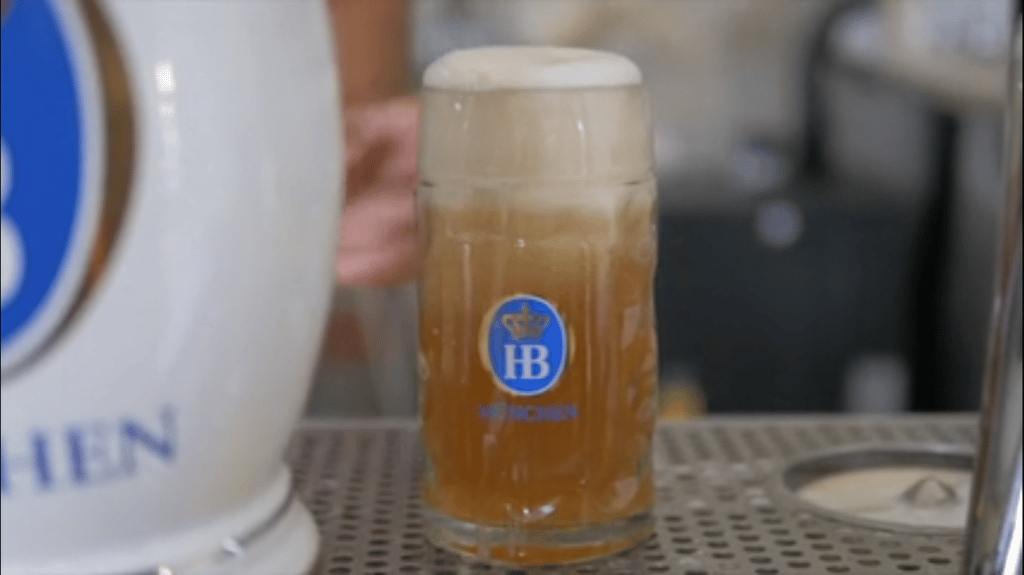
Image/Video Source: Pexels
After: Vmake Labs HD Video Converter can not only clarify the outline of the glass but also enhance the foam’s texture and the beverage’s color.
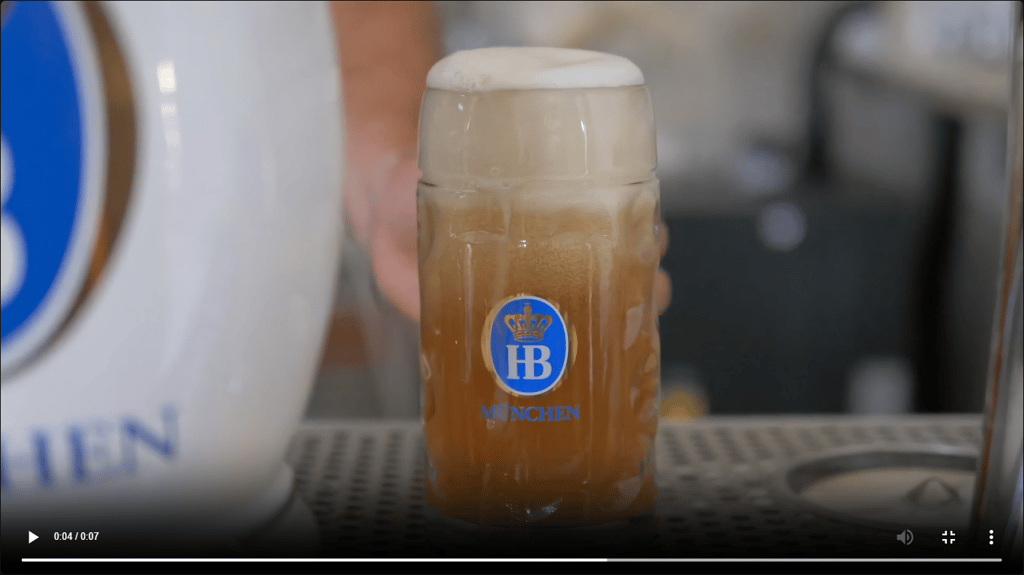
What to look for: Is that foam better? Focus on the bubbles and the edges of the glass. Be on the lookout for overly defined edges or changes in hues. For a golden ale, the color doesn’t suddenly become orange, does it?
Test B: The festival walkthrough
Before: As you walk between the stations where the wine tastings are, the lighting is constantly changing. Some shots may lose focus or become too blurry to show the details clearly, making it difficult to capture the beer’s appearance, the pouring process, or the energy of the brewery event.
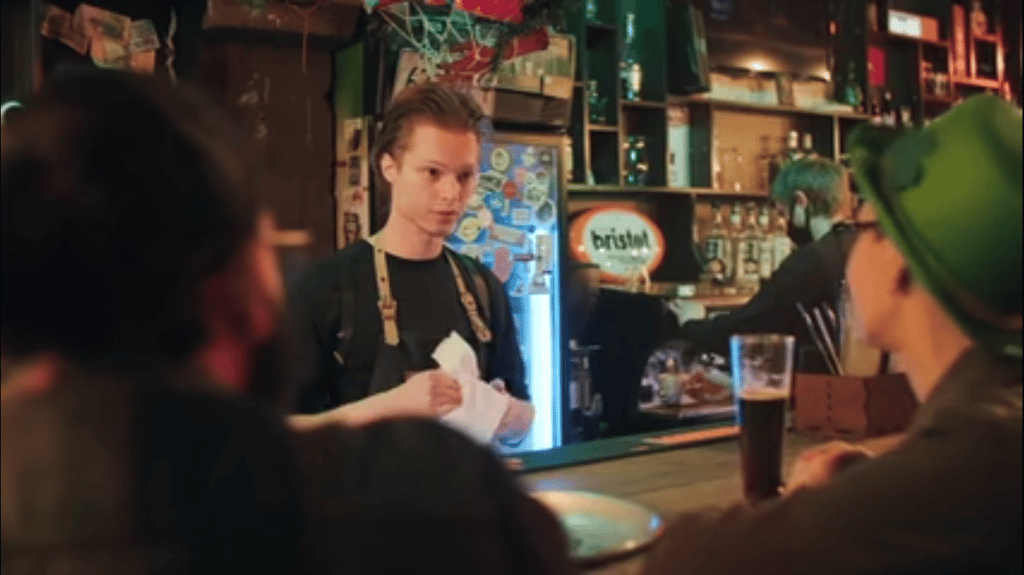
Image/Video Source: Pexels
After: Although an HD conversion will increase the clarity overall, sometimes you just wouldn’t see anything clearly if the focus was already off and the camera shake was so heavy.
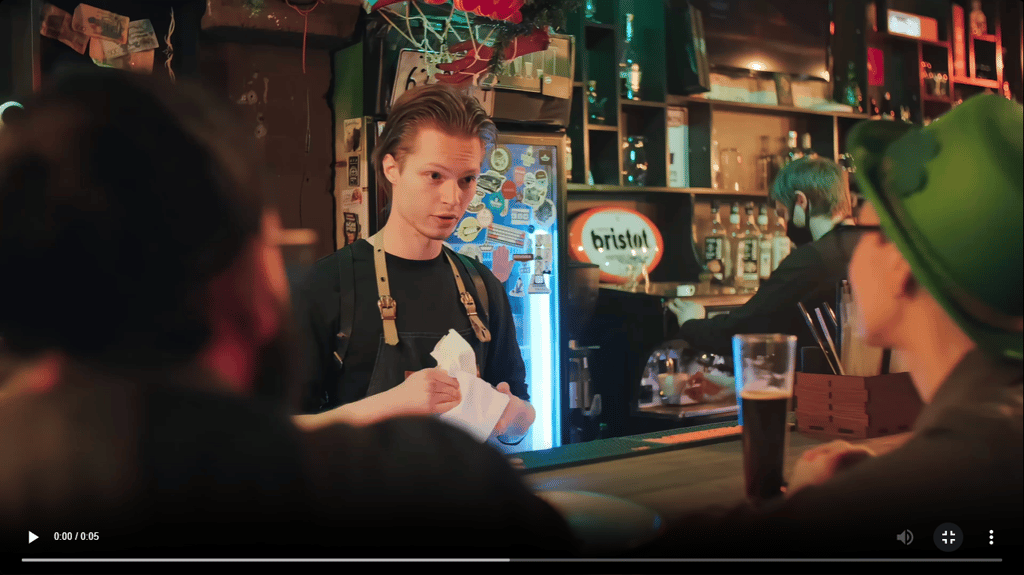
What to look for: Rather than focusing on one frame, watch the whole clip. You can verify whether humans move smoothly and the level of detail doesn’t vary too much or drop unexpectedly.
Choose the Right Resolution for the Story
Do you think all your beer festival videos need to be in 4K? No. A brewery Instagram highlight is not the same as a documentary-style film shown on a giant theatre screen.
Vmake Labs gives you the option of selecting 1080P, 2K, or 4K. The trick is selecting the correct resolution for your footage and on the platform where you want to share.
| Intended use | Suggested output | Main consideration |
| Short social-media recap | 1080p | Clear playback on mobile |
| Brewery feature or tasting review | 1080p or 2K | Detail in pours, packaging, and interviews |
| Large-screen event presentation | 2K or 4K | Original quality and display size |
| Compilation of footage from multiple phones | A consistent output resolution | A cohesive viewing experience |
The Final Check Before Publishing
Your festival shots really pop; the beers look very inviting, and the recap text is all but complete. Now is the time to hit the publish button? Wait!
Rereading all over to ensure that the improvements have not unintentionally changed the significant aspects.
- Watch the whole clip: Don’t take one frame of a clip as representative of the video; watch the video to the end.
- Verify the appearance of the drink: If the color, foam, and bubbles look unnatural, then the beer will probably turn orange if it is a golden beer.
- Check text and graphics: Watch for text that is hard to read or edges that appear over-sharp when looking at names of the brewery, bottle labels, and event signs.
- Pay attention to movement: Watch for the unusual in a moving crowd, beer pouring, and glass edges.
- Check sound: Is the brewer’s voice heard clearly? Does the background “noise” create an atmosphere enough to support the main speakers, but not overpower them?
No Hazy Memories!
Such an awesome beer festival should not only be recalled with a very hazy memory, right? From the first perfect pour to a quick chat with your favorite brewer, every video clip tells the story. Editing a little film footage would help to make those moments clearer and watching them more enjoyable.
Using Vmake Labs HD Video Converter, you can upgrade sharpness, colors, and details while saving time by doing everything in one step only. Working with multiple festival videos through the Vmake Labs API can also significantly speed up the editing process, helping streamline the workflow and save time.




Comments 0
No Readers' Pick yet.